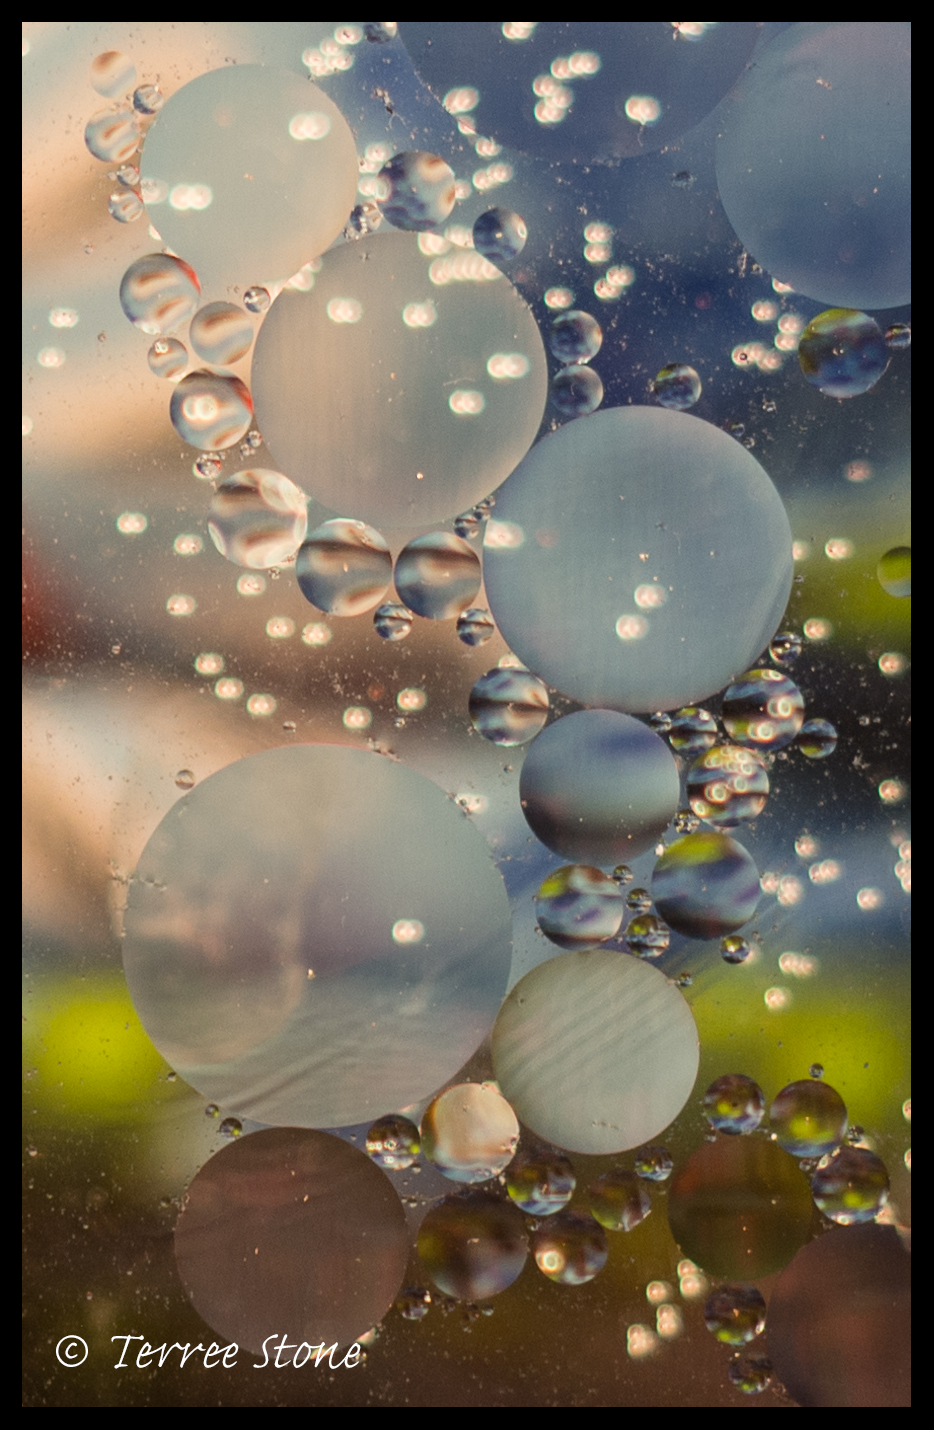
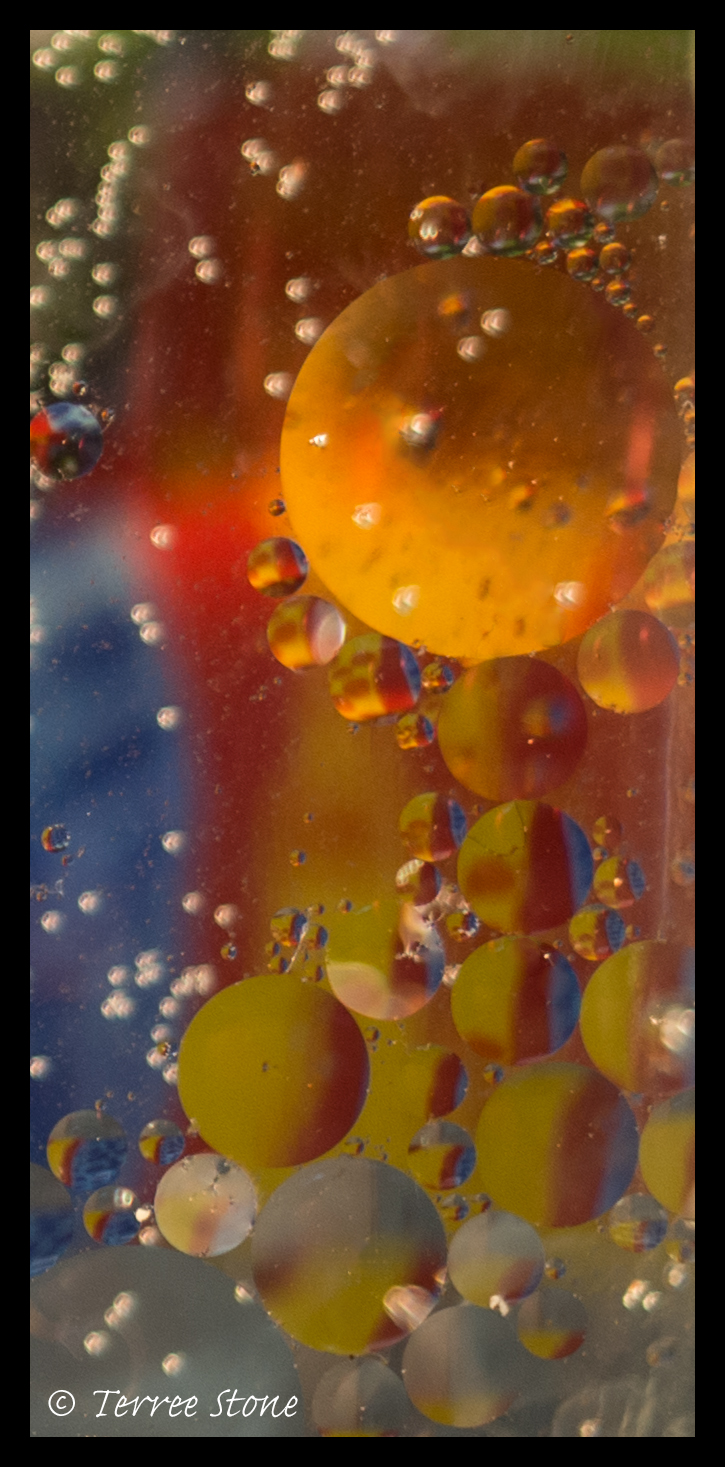
Oil & Water Images
What You’ll Need
Foam Core for base support
Bricks for Support
Clear Plastic or Glass Dish
Vegetable Oil
Water
Colorful Scarf or Fabric
Two Work lights or one light and a reflector.
The Process
Place bricks on floor close enough to hold the dish
Place a colorful scarf or fabric on the floor between the bricks for your background
Place dish on top of bricks. Dish should be about 8”-12” above the floor.
Add enough water to cover the bottom of the dish about 1” deep
Add several drops of vegetable oil on the top of the water so they are separate and of varying
sizes.
Place one light on one side of the scarf and a light or reflector on the opposite side
Attach your shutter release cable to your camera
Connect your camera and macro lens or telephoto lens to the ball head or horizontal center pole of your tripod.
Place your tripod over the dish so that the lens is parallel to the oil on top of the water.
Tips
A bubble level on the camera’s hot shoe will help to insure the lens is parallel to the oil.
Your lens should be about 30” above the oil. Watch to see that any writing on the bottom of the dish is not in your image.
Focus your camera manually so that your lens focuses only on the oil on top of the water.
If your camera has “live view” use it to check focus sharpness and clarity.
Be sure your camera and lens are both on manual focus, not auto focus, before you take the
image. The background should be blurred but the oil should be sharp.
Initial settings:
Aperture Priority or Manual
ISO: 100 – 200.
Shutter speed 1/25 or faster (the oil drops move around somewhat)
Set your aperture to one stop down from wide-open.
Using your cable release, take your image.


